Tips, Tricks & Techniques for Getting the Most from Your Backdrops
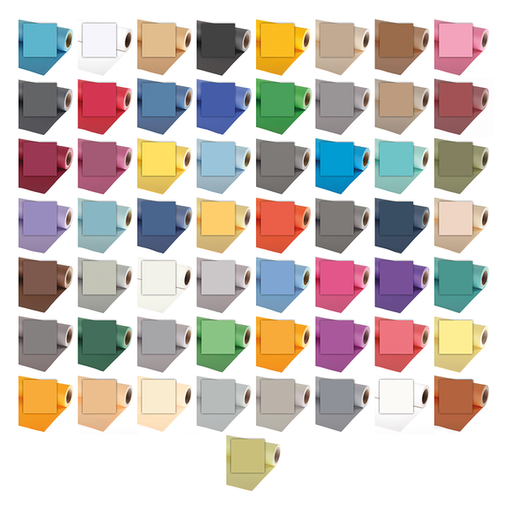
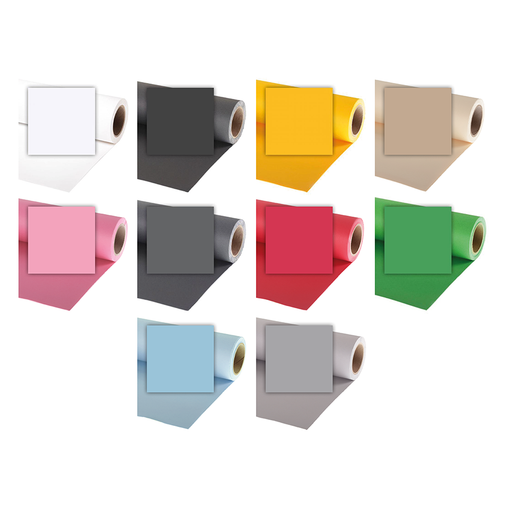
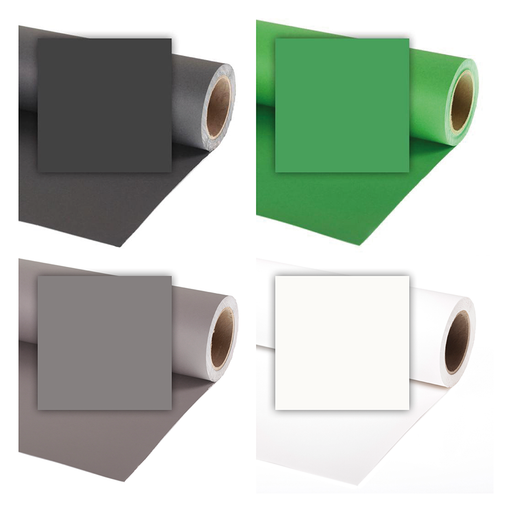
Colorama background paper is a studio staple, versatile, affordable, and available in more than 50 shades. You’re probably reading this because you’re thinking about investing in a Colorama roll, or you already own one and want to get more out of it. If you’d like to explore the full range of colours and sizes, you can browse the options here.
But, owning a roll is only half the story. The real magic happens when you know how to light, handle, and style your paper for different creative effects. This guide will walk you through practical tips, tricks, and techniques to help you get the best results, whether you’re shooting portraits, products, fashion, or creative content.
One White Roll = Three Backgrounds
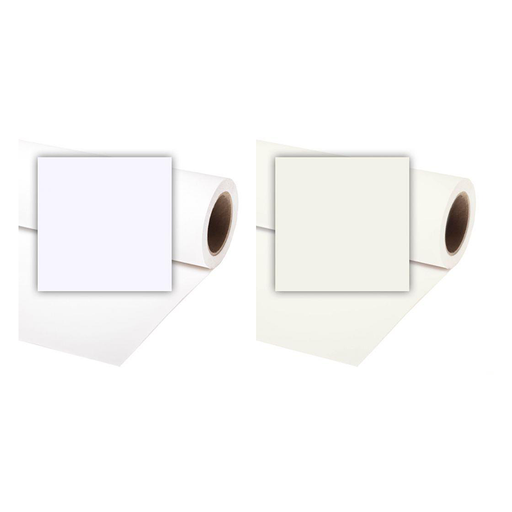
A roll of Arctic White Colorama isn’t just white. With one roll and smart lighting, you can create a variety of looks, depending on how you light it:

One Arctic White background, three distinct looks
Pure White (High-Key)
- Light the background 1–2 stops brighter than your subject.
- Place separate lights directly on the paper for even coverage.
- Perfect for e-commerce, clean portraits, or catalogue work

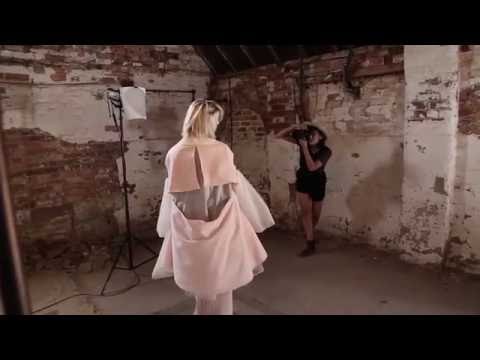
Behind the scenes (white) high-key lighting setup
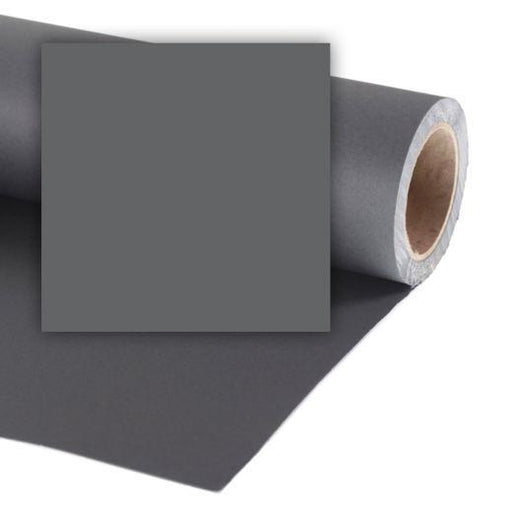
Grey (Mid-Tone)
- Light only the subject, allowing the background to fall into natural grey.
- Adjust your subject-to-background distance to control the shade.
- Great for corporate headshots or neutral product imagery.
Black (Low-Key)
- Position your subject far enough from the background so no light spills onto it.
- Use flags, grids, or barn doors on your lights to keep light off the paper.
- Ideal for dramatic portraits, moody fashion, or cinematic looks.

Lighting setup for Grey and Black backgrounds
We used the same setup for Grey and Black, all that changed was the angle of the softbox. For the Black background, the softbox was angled away from the background to reduce light spill to near zero.
When (and Why) to Use Black Backgrounds
Black Colorama is your go-to for creating mood, depth, and focus.
-
Isolate your subject – Black eliminates distractions.
-
Highlight shape and form – Perfect for fitness, maternity, or artistic portraits.
-
Control reflections – Reduces glare when shooting glass, jewellery, or shiny products.
-
Blend into infinity – Makes low-key lighting seamless.
Tip: Keep as much distance between your subject and the background as possible, to avoid light spill.
Portrait shot using a Colorama Black background
Adding Colour for Creative Impact
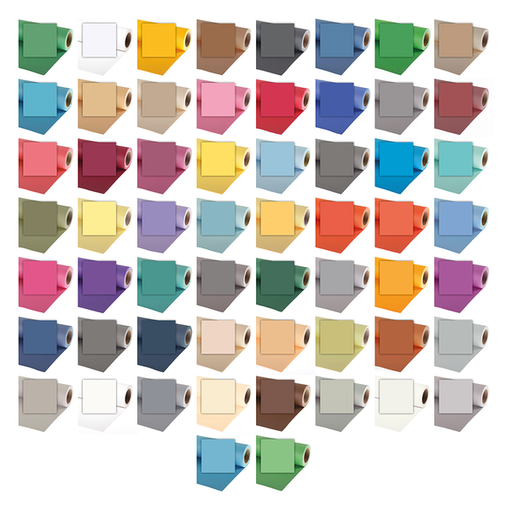
Colorama’s extensive colour range makes it a playground for creativity.
Pro Tip: For commercial clients, match background colours to brand palettes, it instantly elevates the professionalism of the shoot. If you're not sure what colour you need, here are some popular uses for inspiration:
Pastels
Pastels such as Carnation, Lobelia and Lemon are fun playful, and trending in fashion/beauty photography.

Lemon, Carnation, Lobelia
Neutrals
Neutral backgrounds are professional, timeless, and flattering for skin tones. Our personal favourites include Storm Grey, Barley and Oyster.
Oyster, Storm Grey, Barley
Bold Colours
Colorama offers a wide range of bold background colours. Eye-catching for campaigns and perfect for editorial shoots, or social content, Chromablue, Damson and Cherry are some of our favourites.

Cherry, Chromablue, Damson
Dark Tones
Looking for something sophisticated and cinematic? We recommend dark tones, particularly Peat Brown, Leaf and China Blue.
Peat Brown, Leaf, China Blue
Studio Setup: Hanging Your Colorama
There’s more than one way to hang your Colorama, and the best option depends on your studio space and shooting style.
Wall-Mounted System
For permanent studio setups, wall mounting is the most efficient and professional solution. Using a set of Manfrotto 045 Background Paper Triple Hooks, you can mount up to three Colorama rolls at once, keeping them neatly stored and ready to use. Pair the hooks with up to three Manfrotto Expan Background Paper Holder sets for smooth, chain-operated control, allowing each roll to be raised, lowered, or swapped out in seconds. This setup is ideal for studios that regularly switch between colours or need to maximise shooting time.
Pro Tip: Use the Expan’s coloured chains, red, black, and grey, to quickly identify which chain controls which backdrop. It’s a simple trick that keeps your workflow organised and saves time during busy shoots.
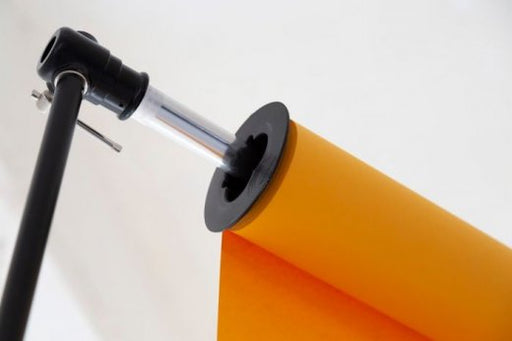
Background Support Kit
If you need something portable and flexible, go for a Background Support Kit such as the Phottix Saldo Air Cushioned Backdrop Support Kit. These lightweight stands are easy to assemble and pack away, making them ideal for home studios or photographers who work on location. The telescopic crossbar adjusts to fit any standard Colorama roll width, giving you versatility without bulk.
Getting Seamless Floor-to-Wall Coverage
That classic “infinity curve” look comes from rolling your Colorama out across the floor as well as up behind your subject. To keep it safe and professional, secure the edges with strong gaffer tape, this prevents slipping underfoot and keeps the paper flat. Once the edges are taped, roll the backdrop back slightly into the core to tighten it. This creates a taut, seamless sweep with no ripples, giving you that flawless floor-to-wall transition that makes portraits and product shots look truly polished.
Alternatively, for a more professional finish on the 2.72×11 m rolls, you can use a Colorama Coloredge Paper Weight and Cutting Edge. The paper weight keeps the leading edge perfectly flat and tight to the floor, while the cutting edge gives you a clean, straight line when trimming away worn or marked sections. Together they create a crisp, studio-ready sweep that stays neat throughout the shoot, and saves you from constantly re-taping or fighting curled edges.
Storage & Handling Hacks
Keep your backgrounds looking pro by following these studio-tested tricks:
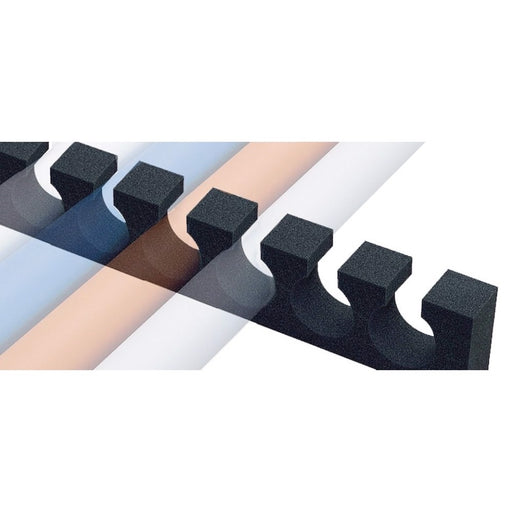
-
Store upright to prevent sagging or flat spots. Using the Colorama Colorgrip Storage System is really handy for this.
-
Avoid damp areas — paper absorbs moisture quickly.
-
Trim dirty ends with a craft knife (or the cutting edge mentioned above) instead of rolling them back up.
-
Use clamps to stop rolls unravelling mid-shoot.
Lighting Tricks to Add Depth
Your Colorama doesn’t have to be flat! With thoughtful lighting, you can turn a simple paper roll into a dynamic backdrop that adds atmosphere, contrast, and dimension to your shots. Here are some of the most effective techniques for bringing your Colorama backgrounds to life:
Gradient Effect: Add Depth and Dimension
A gradient background instantly adds drama to your images, and the effect is easy to create, simply by adjusting where your light hits the Colorama. Below are two examples showing the behind-the-scenes setups and the resulting final shots.
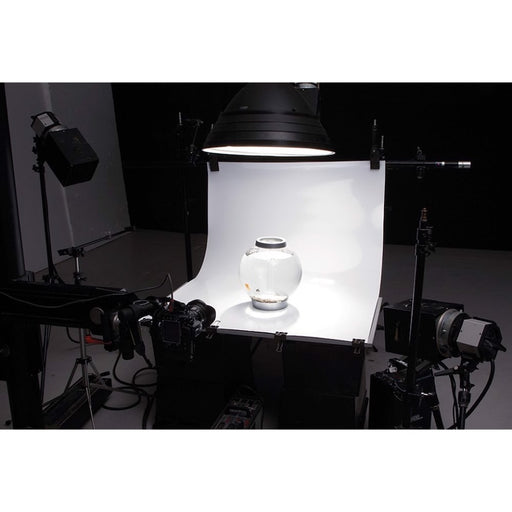
Soft, even halo gradient
In this setup, the gradient is created using a light placed underneath the shooting table, angled upward toward the Colorama background. Because the light is hitting the paper at different distances, it produces a beautifully soft transition from light to shadow.
The main softbox and reflector illuminate the product itself, while the under-table light is responsible for the gentle, even backdrop. This approach gives you a clean, premium look with a subtle halo effect behind the subject. Perfect for wellness products, cosmetics, and anything that benefits from a calm, elegant aesthetic.

Dramatic, directional gradient
The second setup uses a very different lighting strategy. Here, the softbox is positioned off to the side and angled so that only part of its beam spills onto the background. With the front diffuser removed from the softbox, the beam creates a sharper highlight that tapers quickly into shadow.
This produces a bold, directional gradient with a clear, sculptural fall-off, ideal when you want your product to feel elevated, editorial, or high-impact.
Spotlight Circles
Spotlight circles are a powerful way to create a bold, graphic background that instantly elevates product photography. By projecting a tight beam of light onto your Colorama, you can produce a glowing orb that adds drama, focus, and a cinematic feel to the shot.

Crisp, vivid circles with a spotlight projector
In this example, the background circle is created using a Nanlite Projection Attachement on a Nanlite Forza 60C RGB LED. Unlike a snoot or grid, which produces softer, more organic edges, a spotlight projector allows you to control the shape with extreme precision, perfect for this sharp, sun-like glow.
The projector is aimed directly at a China Blue Colorama roll, and a red colour setting applied to our light, creating a saturated orange circle that pops beautifully against the cooler-toned paper. The concentrated beam produces a clean, well-defined edge, giving the effect of a rising sun behind the product.
Pro Tip: Distance = size control. Move the projector closer for a tighter, brighter circle; further away for a larger, softer one.
Coloured Gels: Transform neutral paper into vibrant colour
If you don’t have an RGB LED light, coloured gels are your best friend for transforming a neutral Colorama, such as Quartz or Smoke Grey, into almost any colour you want, all without buying multiple rolls of background paper.

Mixing colours for creative backgrounds
In this setup, we combined red and blue light (full disclosure we did use RGB LEDs, but this could just as easily be achieved with gels on any light source you already own) to create a vibrant, cinematic blend on a plain grey backdrop.
Grey makes an ideal base for gelled lighting because it reflects colour cleanly without overpowering it. Darker greys give you deeper, moodier tones, while lighter greys create softer, pastel-like blends. It also handles layered gels beautifully, letting you build gradients or split-colour effects with ease.
Essential Accessories Every Studio Needs
A Colorama roll is the foundation of your studio, but the right accessories will take your setup from “makeshift” to professional and reliable. Here are some must-haves we recommend for anyone working with backgrounds and lighting in a home or professional studio:
Clamps and/or Paper Brake
Never underestimate the power of a good A-Clamp, they’ll keep your roll tidy, stop loose paper from unravelling, and even double up for holding reflectors, diffusers, or gels.

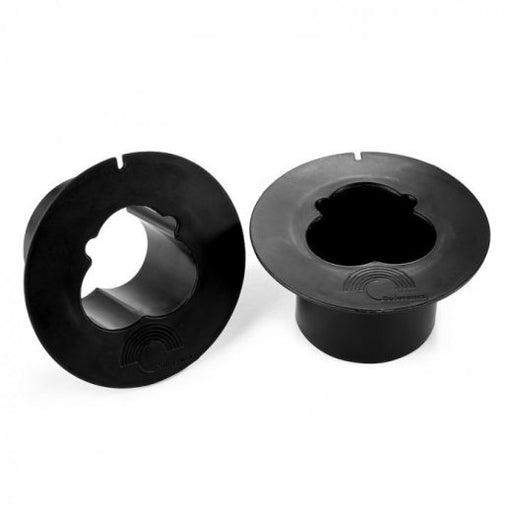
The Colorama Paper Brake is a game changer to stop rolls unravelling
If you want a cleaner, more controlled setup, the dedicated Colorama Paper Brake is an excellent and inexpensive accessory. It fits onto the roll itself and adds just the right amount of tension, so your background stays put without needing extra clips. Whether you use clamps, a paper brake, or both, keeping your roll securely managed will save you time (and frustration) on every shoot.

Lighting & Lighting Modifiers
Your background only looks as good as your light, and at TFC we stock a full range of lighting systems to help you get the most from your Colorama. Whether you’re working with the colour-accurate output of Nanlite continuous LEDs, the power and versatility of Godox, or the beautifully consistent light quality of Elinchrom, the right light and modifier will transform your results. A basic Softbox or Umbrella will give you even, flattering illumination for clean whites or smooth gradients, while grids, barn doors, and flags offer tighter control when you need to prevent spill or keep your subject light from contaminating the background. Together, the right light and the right modifier give you total creative control over how your Colorama appears in every shot.

Reflectors & Diffusers
Sometimes the simplest tools are the most powerful. A reflector panel or diffusion scrim can bounce light back onto your subject, soften harsh shadows, or even block unwanted spill from hitting your Colorama. Lightweight and portable, they’re a no-brainer for every studio.
Stands & Supports
A sturdy background support system is essential, but don’t stop there, invest in reliable light stands with boom arms or C-stands. They allow you to position lights exactly where you need them for full creative control.

Sturdy stands are a must for your lighting, reflectors and laptop if you are shooting tethered
Tethering & Calibration Tools
Seeing your shots in real-time on a laptop or monitor makes it easier to check for background creases, uneven lighting, or colour shifts. Tethering cables and colour calibration devices will keep your workflow consistent and professional from capture to final edit.
Final Thoughts
A Colorama backdrop isn’t just paper, it’s the canvas for your creativity. With the right setup, lighting, and care, a single roll can deliver dozens of professional looks.
Ready to expand your studio toolkit? Shop Colorama and a curated range of our favourite Colorama Accessories at The Flash Centre. As always, if you have any questions or need any advise choosing the right gear for your next shoot, simply Contact Us, we're on hand to help out!