Welcome to this month’s Elinchrom Accessories Spotlight! Our focus is going to be on the Litemotiv Para Softbox 120cm, expertly used by Emily Teague for achieving soft, balanced lighting with a touch of intensity. Let’s dive in!
I’m back for one more Elinchrom Accessories Spotlight, and this time, I’ve decided to feature another favourite modifier of mine, the Litemotiv Para Softbox 120cm. I use this modifier when I want to get soft, even light, balanced with intensity. I almost always pair my Litemotiv Para Softbox 120cm with my ELC 500s in the studio.
I usually use the Litemotiv Para Softbox 120cm because I want my light to be soft. Still, I love making the light a bit harder, crispier, and more contrasting by removing the front diffusion baffle and utilizing the silver reflective fabric inside. There’s a center baffle as well that can be removed for even more intensity.
Below are a few examples I have using the Litemotiv Softbox, and a few thoughts behind the approach to these images.

“The light created is soft and flattering while still having those deep shadows that help the richness of this image”
In the first example above, I’m lighting with both the Litemotiv Para Softbox 120cm and a Rotalux Softbox 100 cm Deep Octabox. Both modifiers are paired with ELC 500s. I placed Black V-Flats on either side of my model, Brandi, to add more shadow on her sides.

The light created is soft and flattering while still having those deep shadows that help the richness of this image. I love that little highlight on Brandi’s cheekbone, with that deep shadow right beneath her jaw. I’m also pleased about the little bit of her eye showing and the 2 o’clock specular catch light in it that’s created from the Litemotiv Para Softbox 120 cm.

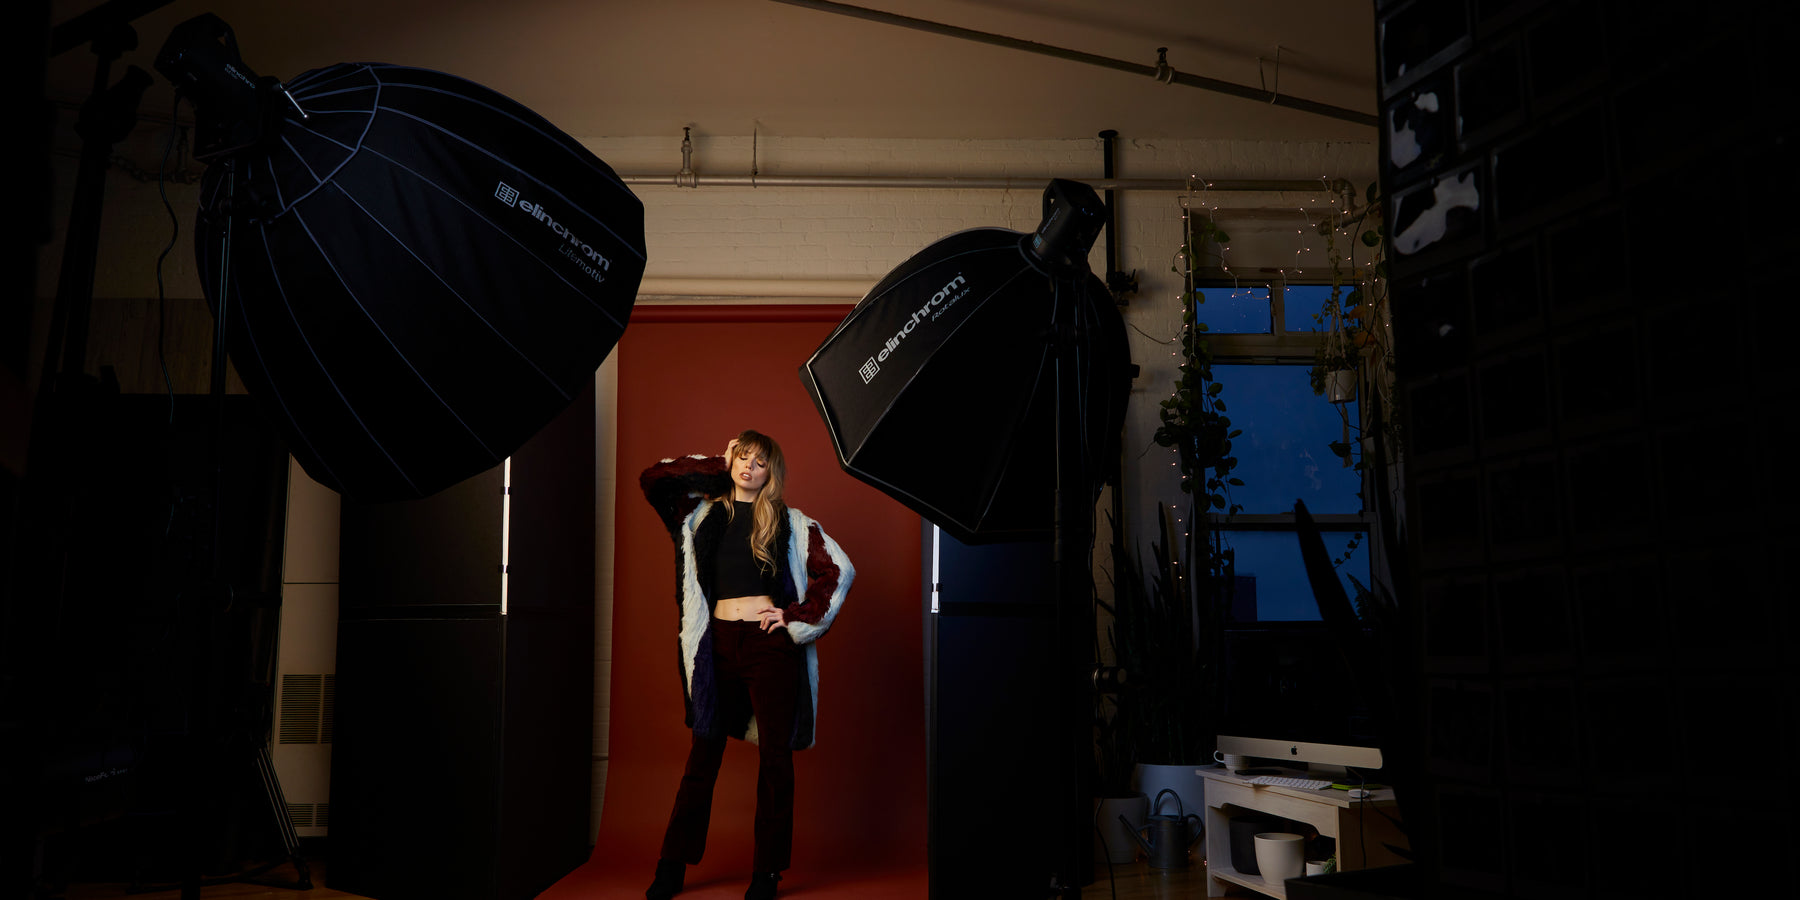
Next one up is one of my more theatrical fashion images- complete with a hairless cat. Like the last example, I’m using my Litemotiv Para Softbox 120cm. and a Rotalux Softbox 100 cm Deep Octabox. This time I’ve inversely mounted my Rotalux with the Rotalux Indirect Octa Speedring to create softer, more even light. I’ve also partially flagged and feathered that light to avoid being too directional.
I’m using a White-Sided V-Flat to flag so that it bounces some of the light from both modifiers back onto the scene.

Not pictured here are also two ELC 125s placed behind the set wall. They’re both paired with reflectors and pointed directly towards the white ceiling, where the light will bounce back down onto the set, creating more even fill light. I wanted to make sure my model and cat friend were properly lit and the wall behind her.

The last example is from a portrait shoot my beautiful friend, Cassie, hired me for. I wanted to create an image for her that felt sophisticated, playful, elegant, and romantic and included a bit of Cassie’s edge, too- which I’m relying on my shadows to help with. I’ve got Black V-Flats on either side for increasing shades. Knowing I wanted these images to be black & white, I did a quick edit in Capture One during the shoot to get an idea of what this would look like. I wanted to make sure her light skirt against the light background would still have a definition.

I placed my ELC 500 & Litemotiv Para 120 cm to the side and above Cassie, pointing directly down at her. Behind the Litemotiv Para 120 cm is another ELC 500, paired with a reflector and directed opposite the set to where a white wall is that the light could bounce off for fill. If it isn’t clear by now- I’m pretty big on bouncing lights whenever I can.
That’s all for now! I hope these examples and thoughts on using the Litemotiv Para were helpful. I hope you all stay creative, playful, and inspired to try new things with your lighting and photography.
Follow Emily's work
www.emily-teague.com
Instagram: @_emilyteague
Facebook: Emily Teague Photography
This article was originally published 31/08/23 on Elinchrom.com. See the article HERE.